
ownCloud behaves a little differently, depending on whether you are using a mobile device or a laptop or desktop computer.
To use ownCloud on a computer or desktop, you need to open a browser (Safari, FireFox, Google Chrome… whatever you prefer). The beauty of this is that you can access your files on any platform, any operating system, anywhere.
From the browser window, type in the address of your ownCloud server.
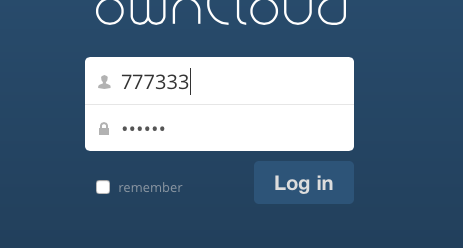
This isn’t as complicated as it sounds. It’s a URL, or web address, without the “www”. All the ownCloud addresses in the district begin and end the same way: oc[school short name].sd79.bc.ca. So, Quamichan campus, for example, is: “ocquam.sd79.bc.ca”. Khowhemun is “ockhow.sd79.bc.ca”, Bench is “ocbench.sd79.bc.ca”. You get the idea. 🙂 Once you have entered the server address (remember, do NOT put in “www” at the beginning), you enter your username and password. This will be the same, regardless of what platform or location. Students should be encouraged to use their student numbers, and their passwords will be the same they use to access the school network.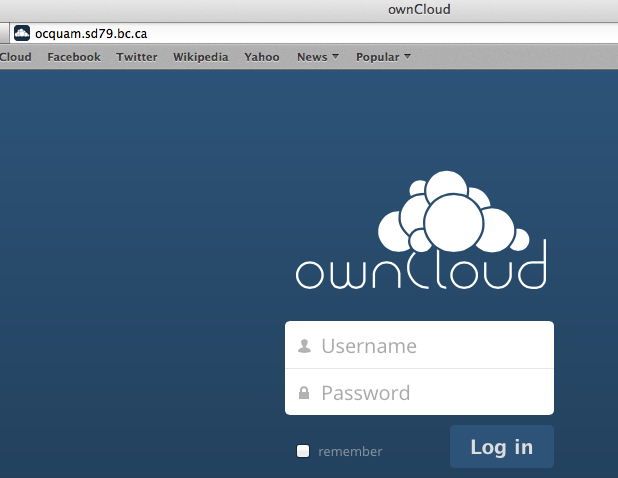
Uploading and managing Files
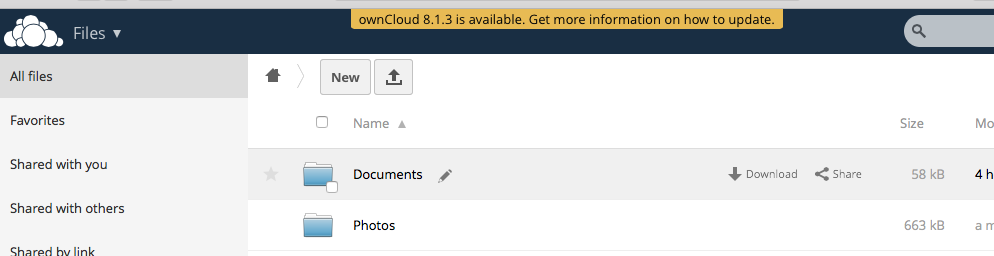
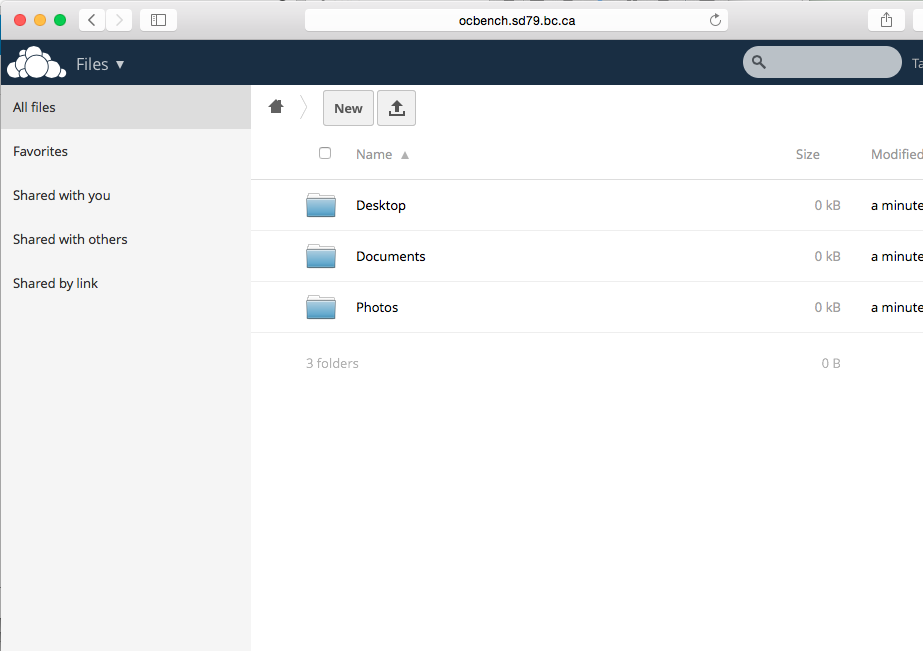
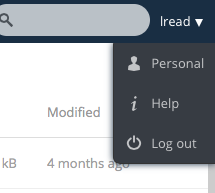
The interface is a little different, as is the functionality. In browser mode, files are “pulled” or uploaded. On mobile devices, the apps “push” content to ownCloud. Once you have successfully logged in, you will see your files down the centre of the window. This is different than on a mobile device. On the left hand side is the file management area, and on the right is your account and log out information. The easiest way to save a file, is to simply locate it on your computer, and drag and drop it into the ownCloud window. You can also use the “chooser” method. Here are some possible scenarios.
I have a file I want to drag to the Documents folder:
Hover over Documents, so that the bar is highlighted:
Click in the bar (NOT on the pencil or other buttons)

Now the Documents folder is open, drag your file in:

The folder instantly updates, and you can see your new document in the list. This dialogue box pops up if you attempt to save a file with the same name twice:
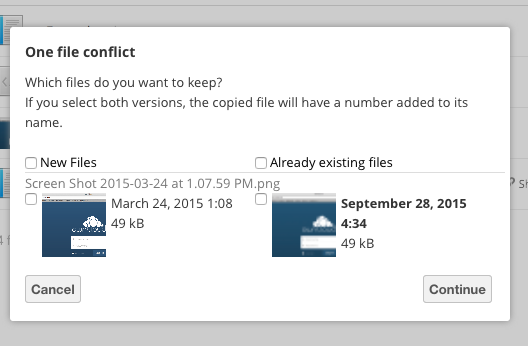
This is especially handy if you are working on the same document over time– you can either replace it each time you save, or save each new version.
Uploading Files
Select/click on the “Upload” button. Depending on what operating system you are using (Mac, Windows, Linux), you will navigate to the file you wish to upload. In the example, the file is found in “Documents” on a Mac.


Tips and Tricks
Some things to keep in mind when managing files: while you can always save a file, you may not be able to open an exact version of it–for example, you upload a Word document and try to open it on a device with a different or alternate version of the application. A good rule of thumb is to save documents that you want to edit again as “.doc” and those that are finished and ready to print as “.pdf” or “.rtf” Images saved as “.jpeg” will open in any device.
Leave a Reply
You must be logged in to post a comment.